

Hey there! As a supplier of PVC H Pipes, I get a lot of questions about how to install them, especially in a vertical position. So, I thought I'd put together this blog to walk you through the whole process.
First things first, let's talk about why you might want to install a PVC H Pipe vertically. These pipes are super versatile and are often used in drainage systems. Installing them vertically helps with efficient water flow, and it's a great way to manage waste in your home or commercial building.
What You'll Need
Before you get started, you need to gather all the necessary tools and materials. Here's a quick list:
- PVC H Pipe: Obviously, you're going to need the pipe itself. Make sure you get the right size according to your project requirements.
- Pipe Cutters: To cut the PVC H Pipe to the right length.
- Primer and Cement: These are essential for bonding the pipe sections together.
- Measuring Tape: To measure the length of the pipe and the installation area accurately.
- Safety Gear: Gloves and safety goggles to protect yourself during the installation process.
Step 1: Planning Your Installation
The first step in any installation project is planning. You need to figure out where exactly you're going to install the PVC H Pipe vertically. Measure the space carefully and mark the route for the pipe. Consider factors like the location of the drainage outlet and any obstacles that might be in the way.
It's also a good idea to check local building codes to make sure your installation complies with all the regulations. This can save you a lot of headaches down the line.
Step 2: Cutting the Pipe
Once you've planned out the installation, it's time to cut the PVC H Pipe to the right length. This is where your pipe cutters come in handy. Measure the length you need and mark it on the pipe. Then, use the pipe cutters to make a clean cut. Make sure the cut is straight and smooth to ensure a proper fit.
Pro Tip: If you don't have pipe cutters, you can use a handsaw, but it might take a bit more effort and skill to get a straight cut.
Step 3: Preparing the Pipe Ends
After cutting the pipe, you need to prepare the ends for joining. Use a piece of sandpaper to smooth out any rough edges or burrs. This will help the primer and cement adhere better and create a stronger bond.
Step 4: Applying Primer and Cement
Now it's time to apply the primer and cement. Primer is used to clean and soften the surface of the PVC pipe, which allows the cement to bond more effectively. Apply a thin layer of primer to both the pipe end and the fitting. Make sure to cover the entire surface evenly.
After applying the primer, wait for it to dry for a few seconds. Then, apply a layer of cement to the same areas. The cement should be applied quickly and evenly to avoid it drying before you can make the connection.
Step 5: Joining the Pipe Sections
Once the primer and cement are applied, it's time to join the pipe sections together. Insert the pipe end into the fitting and twist it a quarter turn to spread the cement evenly. Hold the joint in place for a few seconds to allow the cement to set.

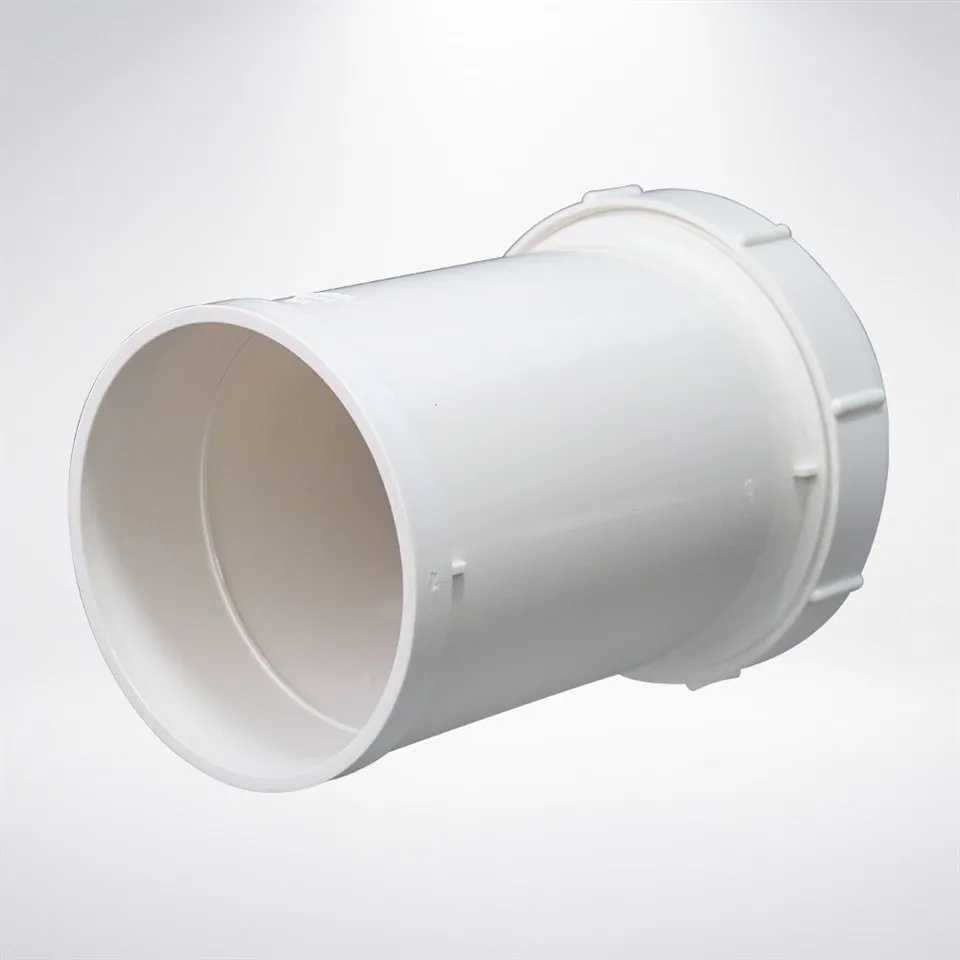
Repeat this process for all the pipe sections and fittings until you've assembled the entire vertical PVC H Pipe system.
Step 6: Securing the Pipe
After joining all the pipe sections, you need to secure the pipe in the vertical position. You can use pipe straps or hangers to hold the pipe in place. Make sure the straps are spaced evenly along the length of the pipe to prevent sagging.
Step 7: Testing the System
Once the installation is complete and the cement has fully cured (usually takes about 24 hours), it's time to test the system. Turn on the water supply and check for any leaks. If you find any leaks, you can use a PVC Pipe Fitting Repair Coupling to fix them.
Special Considerations
Sometimes, you might need to use additional fittings depending on your specific installation requirements. Here are a few common ones:
- PVC Pipe Open Tee: If you need to create a branch in your vertical pipe system, you can use a PVC Pipe Open Tee. This fitting allows you to connect another pipe at a right angle.
- Toilet Shifter: In case you're installing the PVC H Pipe for a toilet drainage system and you need to move the location of the toilet, a Toilet Shifter can be very useful.
- PVC Extended Expansion Joint: If your installation is in an area where there might be temperature variations, using a PVC Extended Expansion Joint can help prevent the pipe from cracking due to expansion and contraction.
- Toilet WC Pan Connector: When connecting the toilet to the PVC H Pipe system, a Toilet WC Pan Connector is essential to ensure a proper and leak-free connection.
Troubleshooting
Even with careful planning and installation, you might run into some issues. Here are a few common problems and how to fix them:
- Leaking Joints: If you notice leaks at the joints, it could be due to improper application of primer and cement. Try applying a new layer of primer and cement, or use a PVC Pipe Fitting Repair Coupling to seal the leak.
- Blockages: If the water isn't flowing properly, there might be a blockage in the pipe. You can try using a plumber's snake or a drain cleaner to clear the blockage.
- Pipe Sagging: If the pipe starts to sag, make sure the straps or hangers are properly tightened and spaced evenly. You may need to add additional support to prevent further sagging.
Conclusion
Installing a PVC H Pipe in a vertical position might seem like a daunting task, but if you follow these steps and take the necessary precautions, it can be a relatively straightforward process. And if you ever run into any issues, there are always solutions available, like the various fittings I mentioned above.
As a PVC H Pipe supplier, I'm here to help you with all your pipe and fitting needs. Whether you're a DIY enthusiast or a professional plumber, I've got the products you need at competitive prices. If you're interested in purchasing PVC H Pipes or any of the related fittings, feel free to reach out to discuss your requirements.
References
- "PVC Plumbing Installation Guide" - Local Home Improvement Store Handbook
- "Drainage Systems and Their Installation" - Professional Plumber's Manual